Clean Up a Scratched Portrait
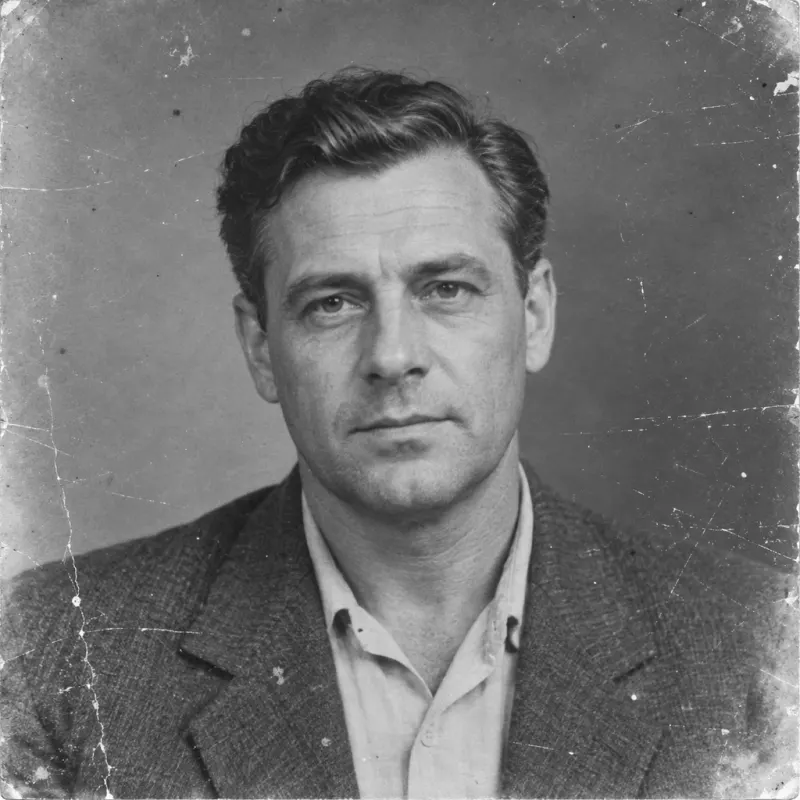
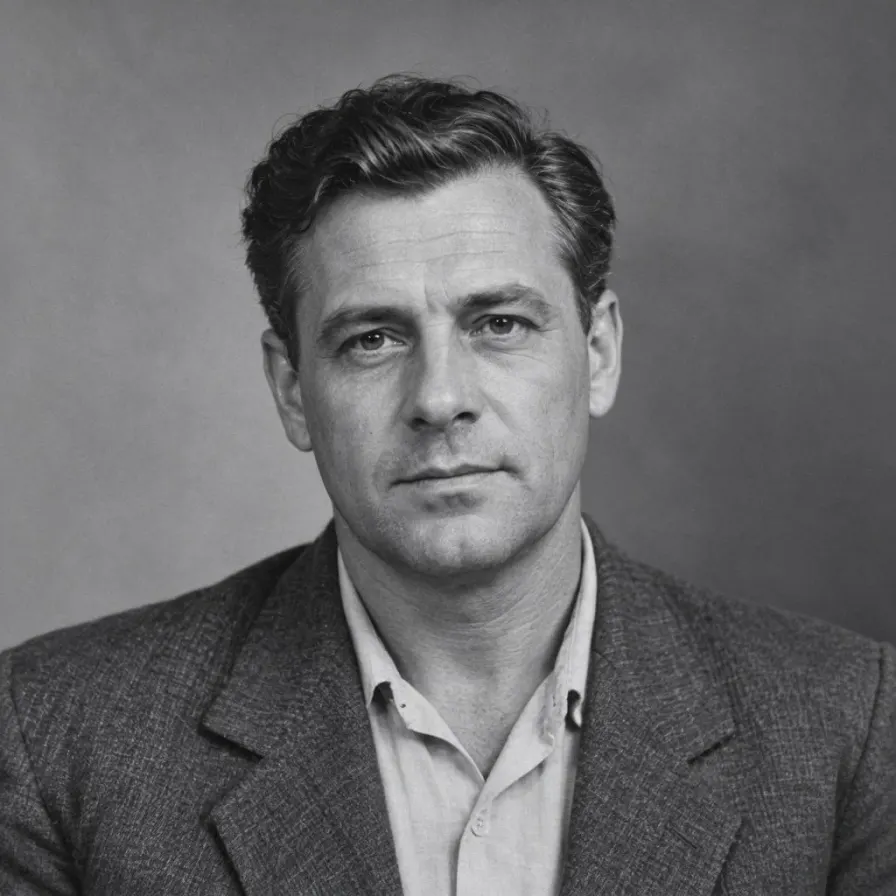
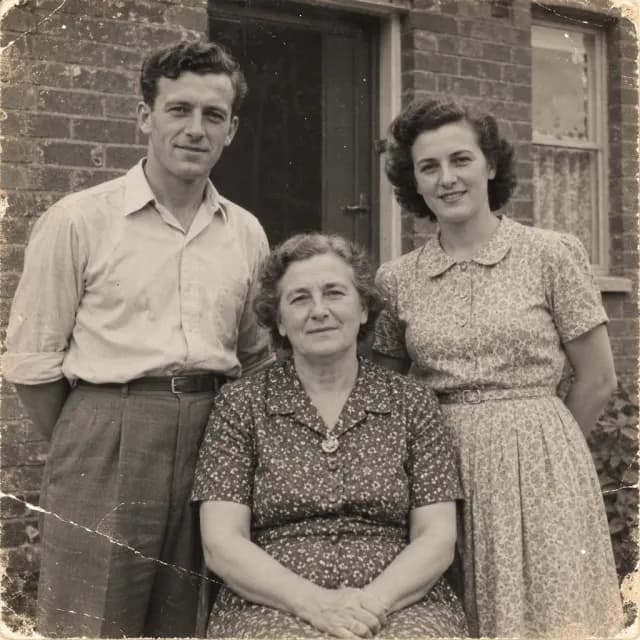
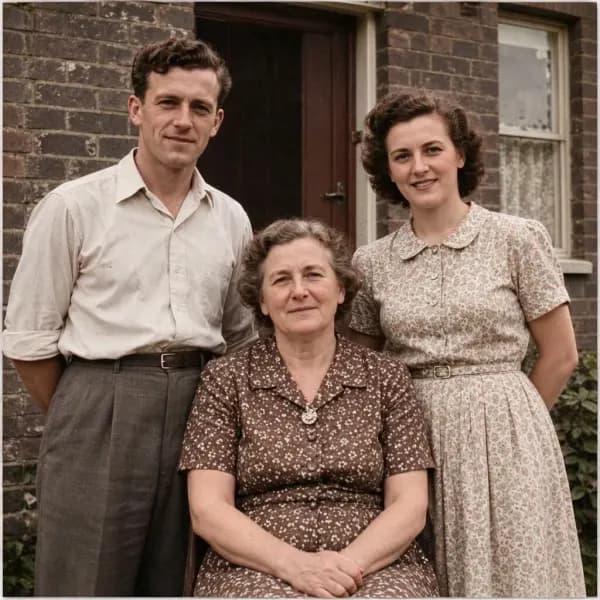
Compare the original monochrome portrait with the restored output. Look at dust, fine scratches and paper wear while checking that the face remains recognizable.
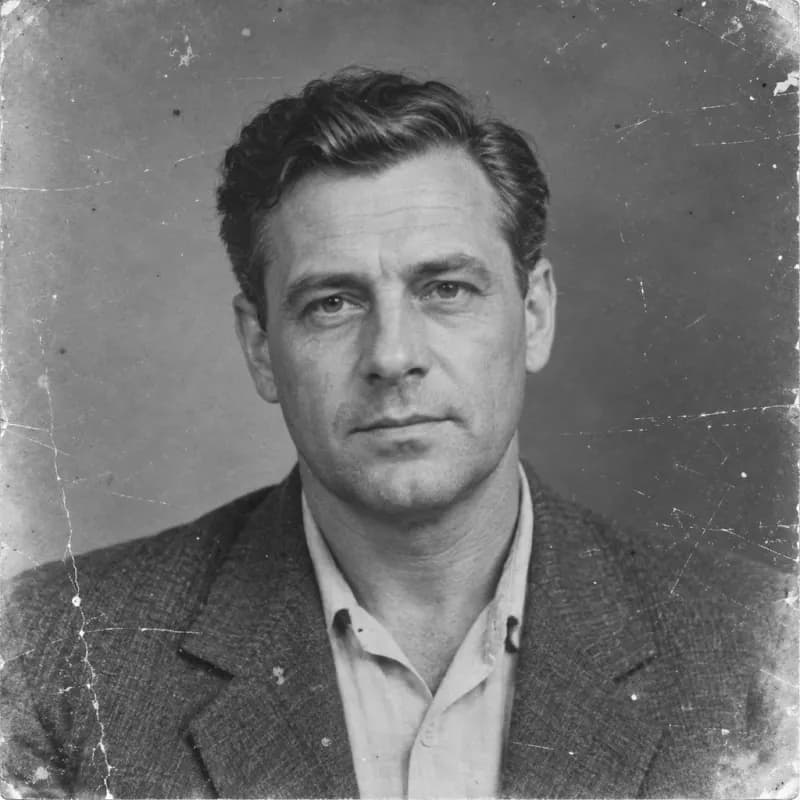
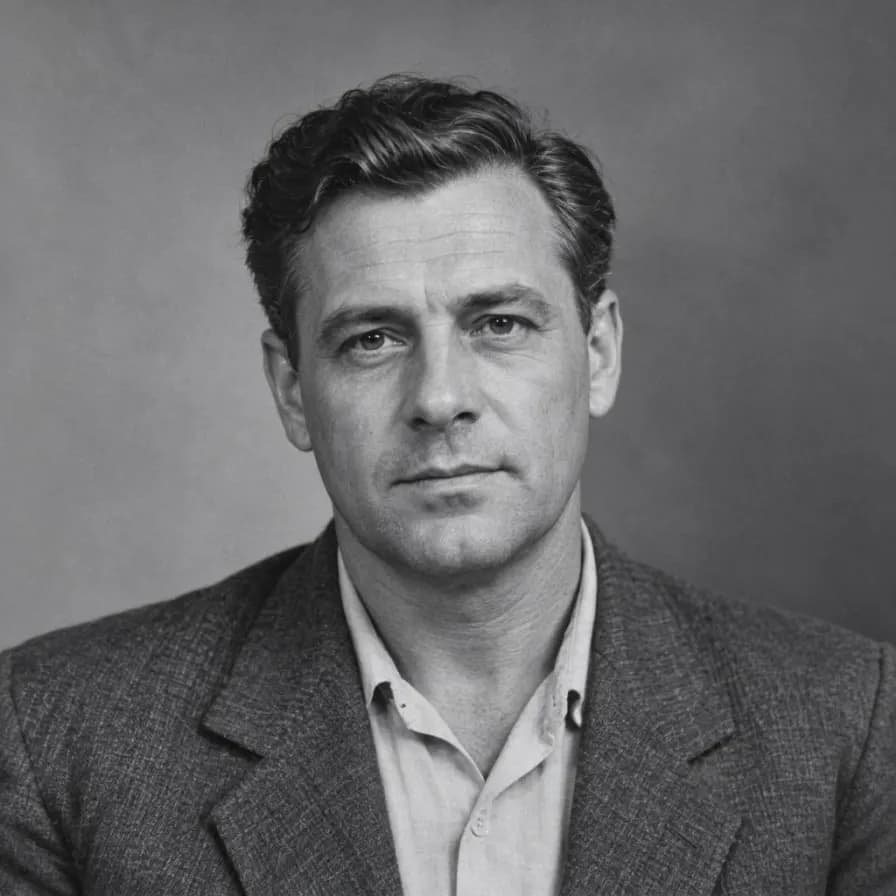
Clean up scratches, dust and fading in old photographs. Keep the original look or choose optional colorization, then compare the result with your original.
Compare each original with its actual restoration result, including scratches, fading and optional colorization.
Compare the original monochrome portrait with the restored output. Look at dust, fine scratches and paper wear while checking that the face remains recognizable.
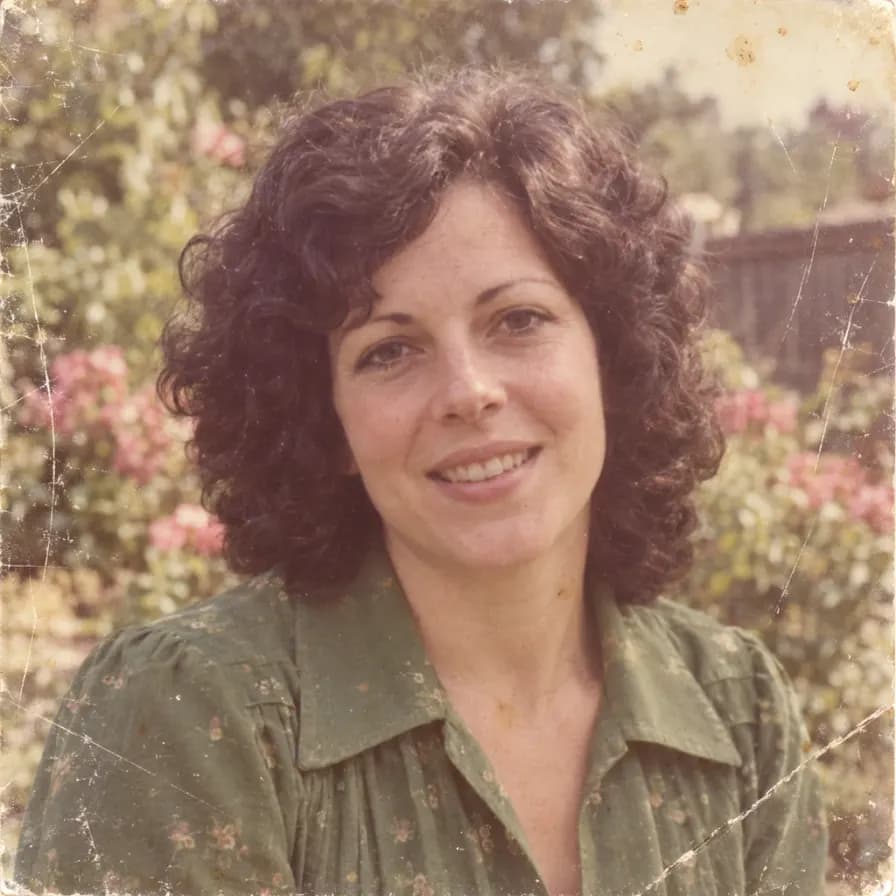
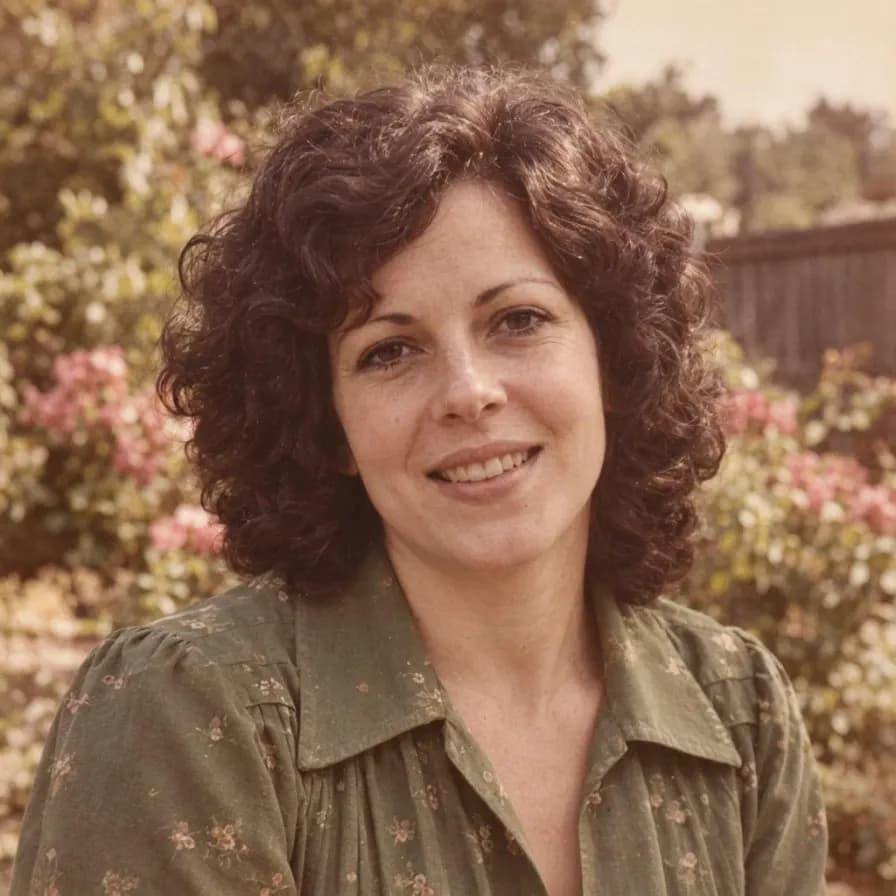
See how a faded color print can gain clearer tones and cleaner surface detail. Compare skin, clothing and background colors against the original.
Repair a group photograph and explore plausible colors while keeping the original people and arrangement as references. Added colors are an interpretation of the past.
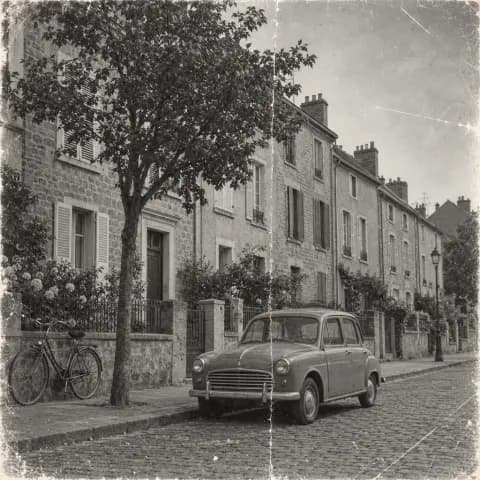
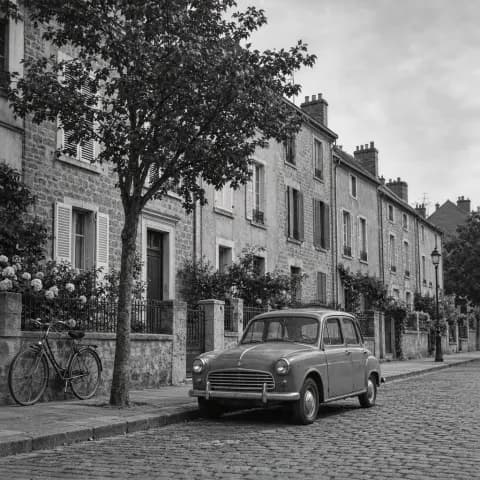
Use an older street photo to compare repairs to scratches and fading across buildings, a vehicle and a bicycle. Review the output for altered architectural details.
Start with a clear scan or evenly lit photo of the original print.
Use the clearest scan you have, with the full photograph visible.
Keep the original black-and-white or color treatment, or request restoration with colorization.
Compare faces and details with the original, then download or continue editing.
Reduce small scratches, dust spots and surface marks while using the surrounding photo as a reference.
Use the original face, age and expression to guide the repair. Review the result for any changed details.
Improve uneven exposure and faded colors without deliberately changing the original scene.
Keep the original treatment or explore a restrained color interpretation of a black-and-white or sepia photo.
Work with individual portraits, family groups and older street or travel photographs.
Download the repaired photo or use Raphael image tools to refine details and explore other edits.
Choosing scans, repairing damage and interpreting AI restoration results.
The tool can reduce small scratches, dust, folds and fading using the visible photo as a reference. Results depend on the damage and the detail still present in the source.
Yes, the default mode asks to keep the original treatment. Choose Restore and colorize only when you want a color interpretation.
The instructions ask to preserve each person’s identity, age and expression. AI may still alter details, especially where damage covers a face, so compare the output carefully.
No. Colorization produces plausible colors, not proof of the original clothing, skin tones or surroundings. Keep the original scan as your historical reference.
Missing information cannot be reliably recovered from the photo alone. The tool is intended for visible photographs with repairable damage; do not treat invented detail as an authentic record.
Use a clear scan, or photograph the print flat under even light without glare. Include the whole photo and avoid screenshots or repeated compression. The button shows the credit cost before generation.
Explore more effects and ways to edit your images.